Absolute Noob's guide to making a shield

Hi folks,

Well, it’s three weeks until Teonn and today I started to make myself a real genuine fake shield. I got plenty of time, right? :stuck_out_tongue:

Anyway, I thought I’d document the process for anyone who was vaguely interested. So here goes!

At the start of this project I decided I wanted to end up with a shield that looks something like this:

After a bit of research I decided to make a normal heater-style shield with a flat top as it will make my fabric covering later on SO much easier, and I have no time for screwups. Having found that the heater pattern is as follows:

(Image from yeoldegaffers.com, a great little site)

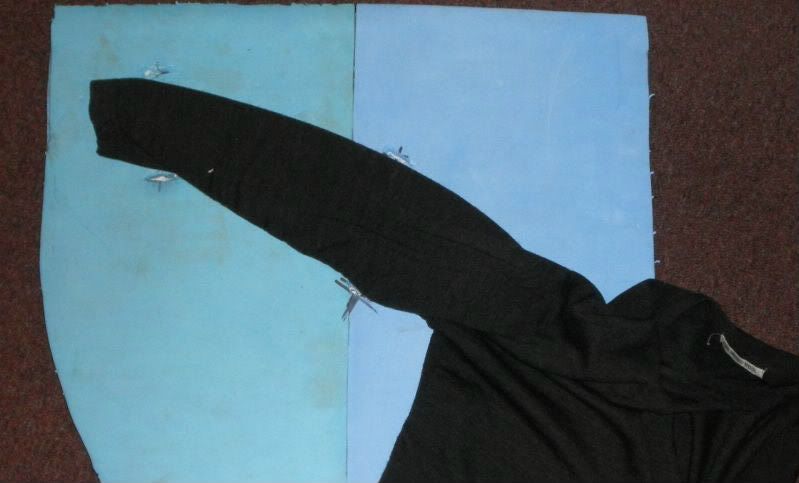
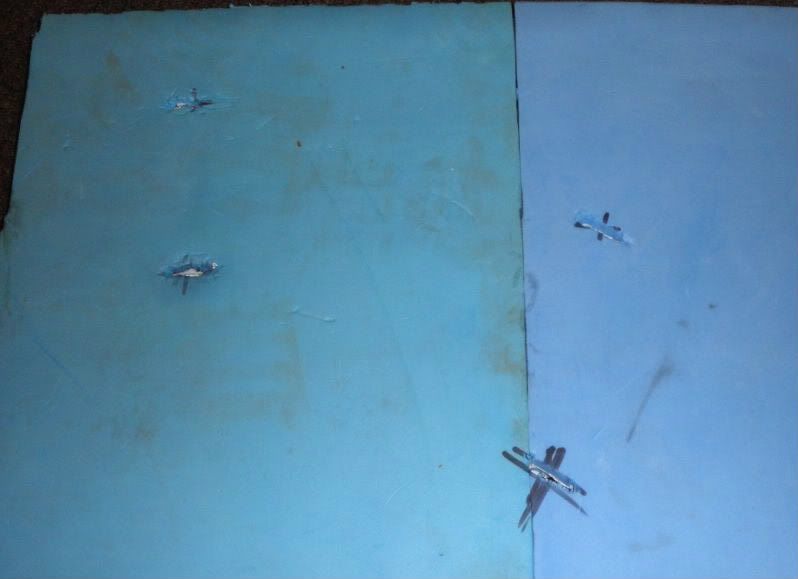
I went ahead and made mine as wide as the piece of corflute I had was; which just so happens to be 60cm which divides nicely into 3. So 20cm down from the end I stuck a pin through a knot in a piece of string, stuck a vivid in the string 60cm away and drew myself two bits of circles, then proceeded to cut out the shapes with me trusty scalpel blade (modelling comes in useful! :slight_smile: ) I did the same thing with another piece of corflute, making sure the “ribbing” went sideways instead of vertically for the second one. This meant I had to do this one in two pieces, but no matter. Unfortunately I did all that before taking any pics.

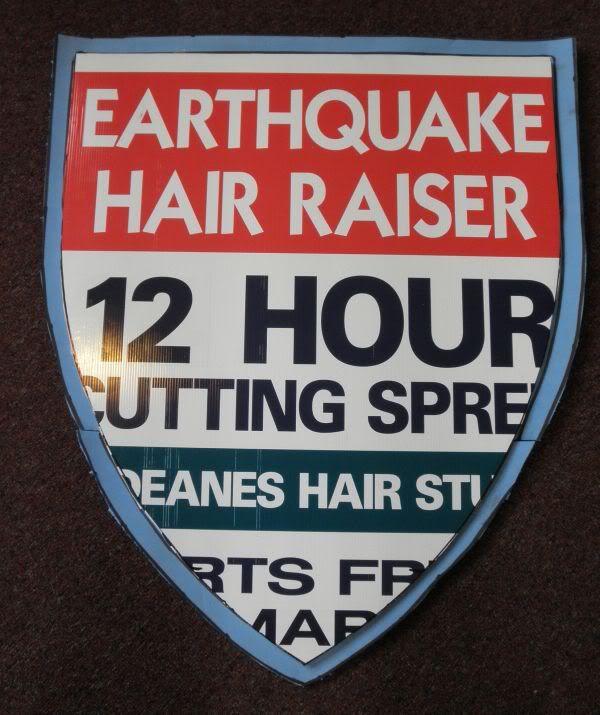
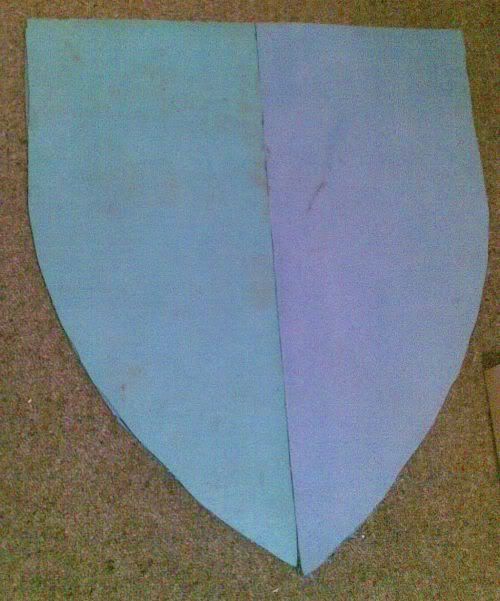
I think glued the two shield shapes together, using most of a tube of Gorilla Glue. Result:

“Hmm,” I thought to myself, “that’s a bit smaller than I wanted it.” However, since (at that time) I was following Bryn’s (from this here forum here) instructions that was going to increase slightly. The next stage was to lay the shield on camp mat, and add an inch to the outside radius, giving something a little like this:


(the camp mat wasn’t wide enough for full width of the shield, so I had to lay the shield across the mat, and again cut it in two bits.)

Now, the plan at this stage was to cut the centre section out of this camp mat and put the corflute in there so I’d have a soft outer edge around my middle section, with a flat section of camp mat in front and behind that layer. I’ve since changed that plan (more on that later)

After cutting out the bottom piece of the camp mat, it looked like this:

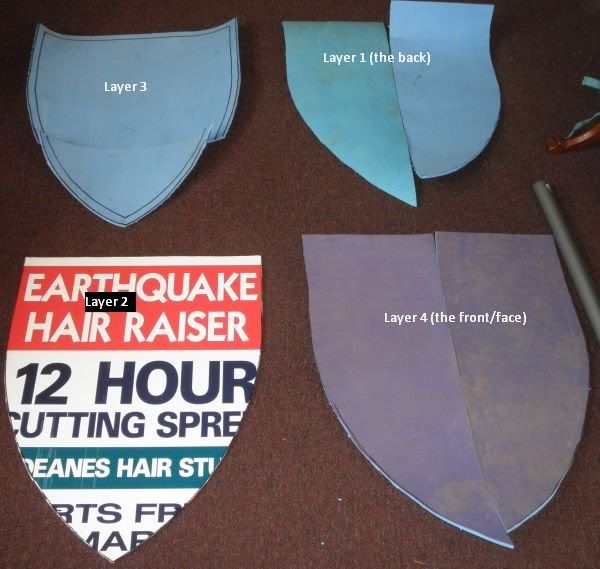
I then spent a good half hour trying to figure out how to get two more full-sized shields out of the 1 1/2 rolls of camp mat I had left; because the shield (now 65cm wide) was wider than the camp mat (50cm) I’d have to cut four halves out of what I had left. Adding to the complexity is that the two mats I had (donated to me) weren’t identical; the one you’ve seen so far is your standard blue mat, but the other one had two different types of foam; the standard blue and also a thinner, but more dense, purple layer. I wanted the purple layer on the face of the shield so it’s a little tougher. Eventually, and with a lot of help (thanks Heather!) I figured out that I could do it - and still have quite a bit left over. So, I thought to myself, why can’t I just make three layers of foam, and cut out an inch strip to go around the corflute from the extras? So that’s what I’m doing.

The three foam layers:


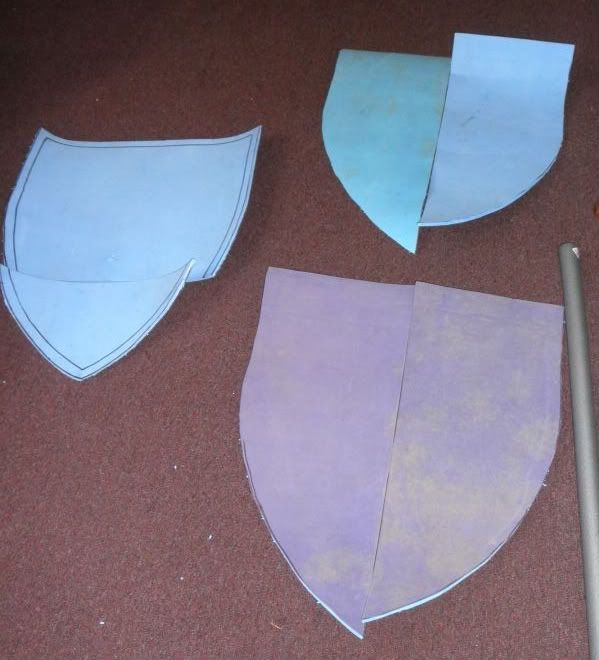
(purple one bottom right, obv)

And The Plan:

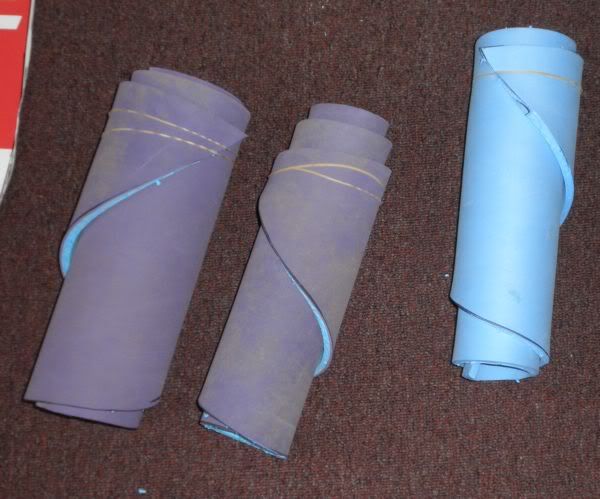
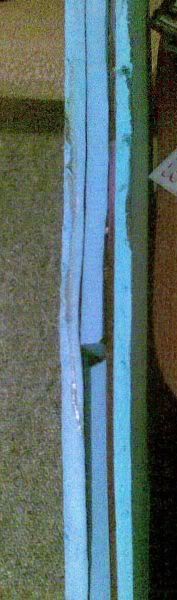
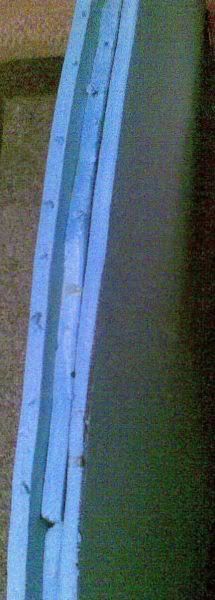
The camp mats have been rolled up for literally years, and so are kind of stubborn about flattening out; as a result check out my mean-as super-tech way to straighten them:

:laughing: :laughing:

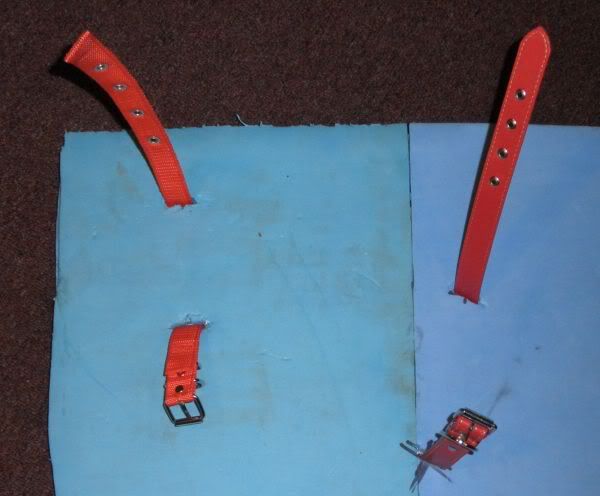
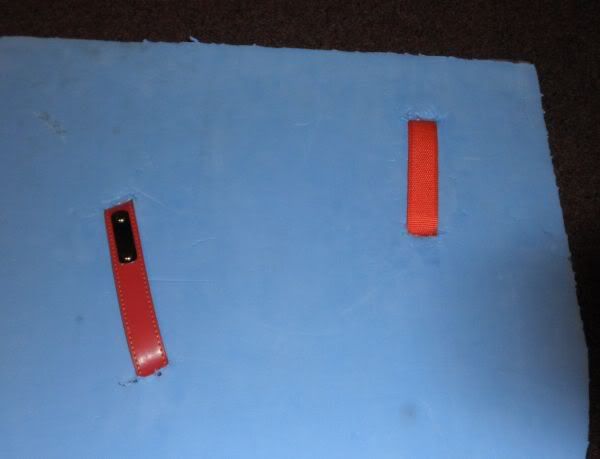
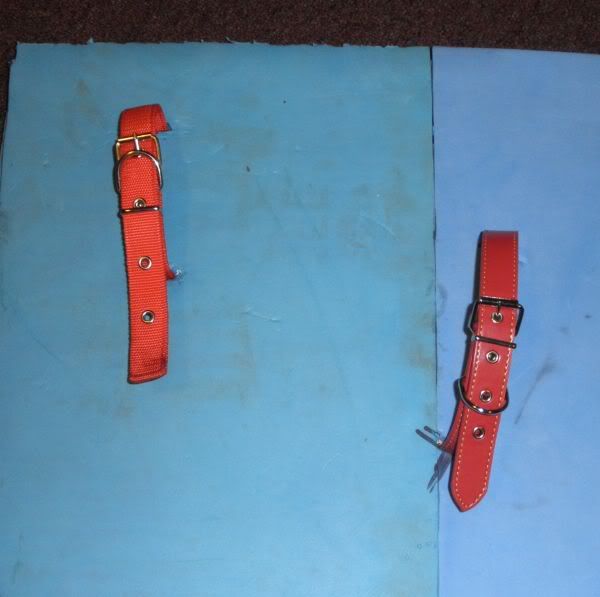
That’s as far as I’ve got - next step; gluing layers 1, 2 and 3 together, then sorting out arm straps!

Anything I’ve done glaringly wrong?

Cheers,
Viperion

Well done you!!!

Looking good! Do your straps before you glue the front face on, makes it easier.

To amphigori: Thanks :slight_smile:

Derek: Thanks as well and yes I’d figured that out :slight_smile: That’s why I said gluing layers 1,2 and 3 then doing straps. (I tend to research the hell out of stuff before I start hence why I now only have 3ish weeks to finish!) Thank you for the advice though, I will no doubt need more later on!

Viperion

We should really look at compiling all these “how to” guides, especially the shield/weapon ones.

Looking good dude.

Also, I like it that your shield says “cutting spree” :smiley:

2 layers of corflute + 3 layers of foam is going to make quite a thick shield, but its definitely not going to hurt anyone.

You should save a rectabgle of foam about the length of your forearm and 15cm wide for a pad for the back. For straps, raid a $2 shop and get a pair of dog-collars, unless you want something fancier. The “studded” ones actually have hollow, detachable “studs”, which you can just flick off with a knife.

Part 2!

(Excuse the pic quality - these are taken from my phone)

So having cut out all the bits it’s time to glue! First gluing layer 2 (the corflute) to layer 3 (second from front). This pic looks the same as one previously but this time I promise the layers are actually glued together instead of just lying on each other.

For reference I’m using Ados F2 glue (a 250ml pottle of it) and a 2 inch wide plastic spreader to apply it and get it it smooth and even(ish). So far I’ve used about half the pottle on what I’ve done so far so expect to have nearly used all of it by the time I’m finished (these things last a long while I hope; it’s turned out to be not-cheap!)

Next step: Cut out 1 inch wide “border” strips to fill in around the corflute core (turns out 2 layers of corflute = 1 layer of my camp mat. I’ve heard three is the norm so maybe my camp mat is thinner than normal?) Anyway, the pic:


(look carefully. I promise it’s not the same as the previous pic :slight_smile: )

I glued down each of those strips. Then, after realising I’d glued the wrong side of one of the strips (one of the curved ones naturally so I couldn’t just flip it over) I just went ahead and glued the two halves of layer 1 (the rear-most) on before the glue completely dried on me. Result:

To get it to stick down flat, I’ve found nothing works better than 10,000 or so cards from a game no one plays any more :stuck_out_tongue:

So now I have a three-layer sandwich with tasty tasty corflute centre:

I’ll be cleaning up the edges much later on. Next stage: Poking holes in what I’ve done, and putting straps in. Watch this space!

Viperion

P.S Edited the above post to include my original idea (found the pic)

Well done!!! That’s looking suitably shield-y!

Spray ADOS is your friend. $20 a can, and one can does 4 - 5 shields. You still need the normal stuff for the edging, though.

Where can you get spray ADOS?

Normally, the same place you get ADOS.

I’ve managed to purchase a large number of 500ml cans of non-brand contact adhesive. I can’t tell the difference between this stuff and ADOS F2 (maybe a very slight difference in translucency that makes no difference to the actual functioning of the glue).

ADOS F2 sells for $19.70/500ml at my local Mitre 10 Mega and I’ll be selling these tins for $10/500ml at Teonn (or 3 tins for $20).

I kind of like the 500ml cans because you don’t have to dip your whole hand inside to get the last of the glue out, which can be very messy :frowning:

OK, so next stage. After talking with Bryn and Anna and others the next stage is getting straps on this thing. I bought a couple of $3.50 dog collars from a $2 and more type shop (50 and 55cm) and then got to it! First; lay my arm on the shield about where I want to hold it - apparently your elbow should be near the centre of balance of the shield, but if I put my elbow on there my hand extends past the edge of the shield, so I moved it back and down a little. Since there’s no straps on it at this point, I can’t take a pic of my arm and the shield at the same time, so here’s special stand-in arm:


I marked the top and bottom of my palm (for the hand strap) and above and below about 2/3rds of the way down my forearm. Then I attacked my brand new shield with a hand-drill and a Stanley knife:

Front view:

Get the collars, I uh, mean, straps;

Thread them through the holes:

Pull them tight so they’re as close to the front of the shield as possible:

Do 'em up, and stick your arm through:


(hey look now I can hold my shield up with ONE HAND!!)

[size=150]Great Success!![/size]

When there’s someone else at home I’ll get them to take a pic of me front on, just to really scare ya :slight_smile:

Viperion

This is where I tell you left handers should use center grip round shields and you weep :wink:

Gimme a break :stuck_out_tongue: This is the one I figured out how to make. I plan to talk to you a lot (Anna and Jackie and Bryn all have great things to say about you) IC and OOC at Teonn :slight_smile:

Viperion

Good work! Does it feel natural when you hold it?

[quote=“amphigori”]Good work! Does it feel natural when you hold it?[/quote]I think so? I have literally zero experience with shields. I think maybe my hand grip could be a little higher than it is, but it seems fine to me. I can go up, down, in, out, and rotate the shield with pretty minimal effort, so all good I think. Despite what I said way back in the first post it’s actually turned out quite a big bigger than I thought it would - but that’s better than too small for a noob, right? :stuck_out_tongue:

I’ve now glued the front face on (no pics) - next step cleaning up the edges and taping the thing. Stay tuned, gentle readers!

Viperion

I’m fond of gluing on fabric (front and back) because it:

  1. covers a lot of sins
  2. doesn’t look like tape
  3. paints really well

Oh absolutely. I’m going to cover it in fabric as well. The edges are kind of weak though, so I’m going to tape about an inch or an inch and a half all around the outside and then cover it in fabric (yes, the tape will probably leave a small “rise” in the fabric at the edge - I plan on that being the gold border (see first post)

I still have time, right???!

Viperion

I can never sleep on the last couple of nights anyway, so I find I can usually get a costume done in the last two nights.

I once started a centaur costume on Monday for a game that started on Friday and managed to make the back half of a centaur, a helmet, and shield and a cloak :smiley: